Read the manual, partly manual, and automatic methods in the guide below and apply the steps that are suitable for your Windows device.
How to Download and Update Intel Rapid Storage Technology Driver Windows?
No need to implement all of the methods listed below, just choose the relevant one and use it to install the latest Intel Rapid Storage Technology driver on Windows 11 or 10 devices.
Method 1: Manual Intel Rapid Storage Technology Driver Download
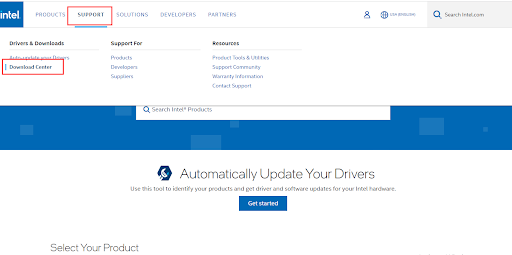
If you are technically skilled and capable to download the Intel Rapid storage technology driver for Windows manually from the website. For this method, you must be aware of your Windows version. Once you gather the required specifications for the Intel Rapid storage technology driver apply the following steps. Step 1: Open the official website of Intel in your web browser. Step 2: In the Support tab click on Download Center. Step 3: In the search bar type Intel Rapid Storage Technology driver and press the enter key on your keyboard. Step 4: From the list of available drivers click on the Download button next to your Windows version. Step 5: Install the downloaded Intel Rapid Storage Driver Windows 11, 10, or an older version with the help of instructions on your screen. Restart your computer to apply the updates. But if you found this method complicated, use the underlying partly manual or automatic methods for Intel RST driver updates. Also Read: Download and Update Intel Watchdog Timer Driver on Windows
Method 2: Intel Rapid Storage Technology Driver Update with Device Manager
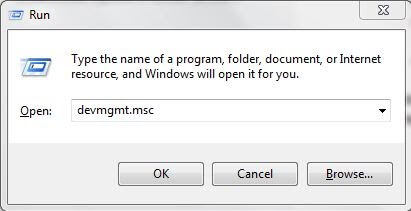
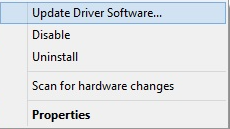
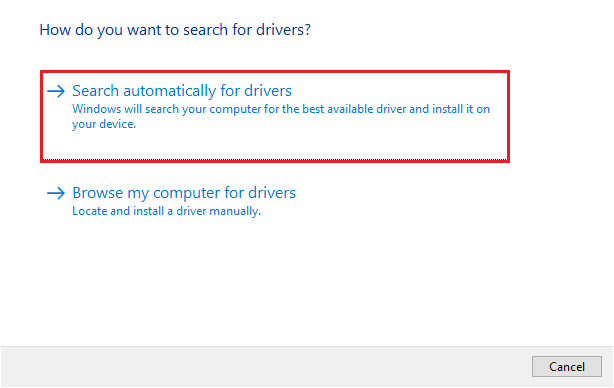
In your Windows devices, you get a pre-installed utility i.e Device Manager that acts as a directory for your system drivers. So if you don’t have time and patience to install Intel Rapid Storage Technology driver Windows 11 or other versions then you can use this method. Here is how to update the Intel Rapid Storage Technology driver on Windows 10, 11, 8, or 7 devices. Step 1: Press Windows and R keys together. In the Run dialog box that pops up type devmgmt.msc and click on OK to open Device Manager. Step 2: Identify the Storage Controllers category in the Device Manager window and double-click on it to expand. Step 3: Right-click on the Intel Rapid Storage Technology driver and select the Update Driver Software option. Step 4: In the next window Select the first option i.e for automatic search and download for driver update. Step 5: Wait till the installation of the Intel Rapid Storage Technology update completes. Restart your PC to bring the driver updates into effect. Now another option to simplify the Intel Rapid Storage Technology driver download is by automating the process through driver updater software. The next method is a fully automatic one. Also Read: Intel Management Engine Interface Driver Download on Windows
Method 3: Use Bit Driver Updater for Intel Rapid Storage Technology Driver Update
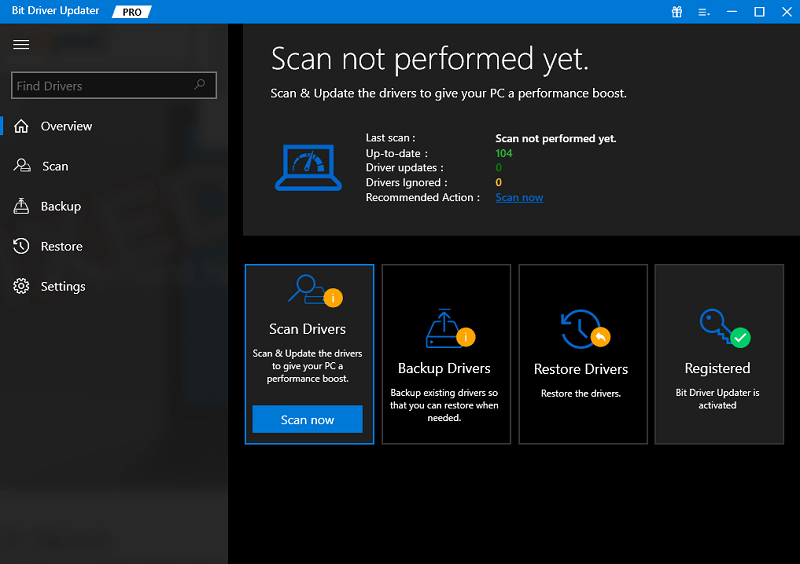
The above methods make a feasible choice only for users who are skilled and have the patience to find and download drivers. However, if you don’t have the skills and time this method can be your favorite. There are several automatic driver updater options available online. One of the best tools for this purpose is the Bit Driver updater. You can scan your PC in no time and download compatible Intel Rapid Storage Technology drivers. Not just this the Pro update of the tool allows users to download all the pending driver updates with just one click. Moreover, all your driver-specific data is backed up and can be restored whenever required. All the driver updates are compatible and WHQL-certified. These drivers are 100% verified and safe to use. If you switch to the Pro upgrade you can connect with trained professionals around the clock for assistance. Additionally, a complete money-back guarantee is offered for up to 60 days in case the tool fails to acknowledge the user’s expectations.
How to Update Intel Rapid Storage Technology Drivers With Bit Driver Updater?
Apply the simple steps listed below to download the software and use it to automatically update the Intel Rapid Storage Technology driver for Windows 11, 10, or older version devices. Step 1: Click on the Download icon below. Double-click on the downloaded package file and follow the steps on your screen to install the Bit Driver Updater software on your Windows PC.
Step 2: Run the software and click on the Scan Drivers option to get the list of drivers with pending updates. Step 3: Identify the Intel RST driver from the list and click on the Update Now option next to it. Additionally, use the Update All option to download all the pending driver updates. Note: The Update All features are available only for pro version users of the software. Step 4: Install the downloaded Intel Rapid storage technology driver for Windows 10 by applying the on-screen instructions. Restart your PC to bring the driver updates into effect. Bit Driver Updater makes it easier for users to download driver updates with a single click. Moreover, to unlock the complete potential of the software use the Pro version. Also Read: Download and Update Intel Chipset Drivers for Windows
Download and update Intel Rapid Storage Technology Driver Windows 10,11: DONE
Hopefully, the above methods helped you. Now you can easily download the latest updates released for the Intel Rapid storage technology driver. All the aforementioned are safe but in our opinion using Bit Driver Updater is the safest option. Install the driver updater software to automate the Intel RST driver and other driver updates on your Windows devices. If you still have any confusion or questions don’t hesitate to ask them in the comments below. Also, for more helpful tech guides and write-ups hit the subscribe option for our blog. And to stay in touch and never miss any tech news or updates follow us on Facebook, Twitter, Instagram, and Pinterest.
