PuTTY is commonly used as a Secure Shell (SSH) and Telnet program. The tool is still free to use for all. Additionally, as the platform is open-sourced, anyone can modify the structure of the platform to get the best out of it. Although the product was first introduced for Windows PCs and desktops only, the program has recently gone cross-platformed. Now, you can get PuTTY for Mac as well. The process to download and install PuTTY for Mac is quite different from that on Windows. Hence, if you wish to get the program and use it on Mac, follow the complete guide precisely for the best and desired results.
Steps to Download and Install PuTTY for Mac with Ease
The complete procedure to download and install PuTTY for Mac is a little complicated and hard to follow all at once. Hence, we have divided the complete procedure into different sections for your ease. Follow all the sections and steps provided below and use PuTTY for Mac after downloading quite easily.
Step 1: Provide Administrator Privileges to Mac
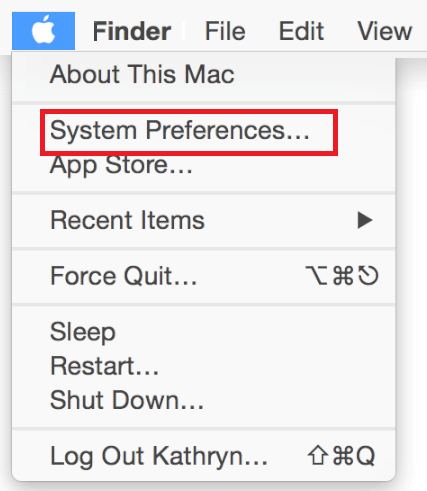
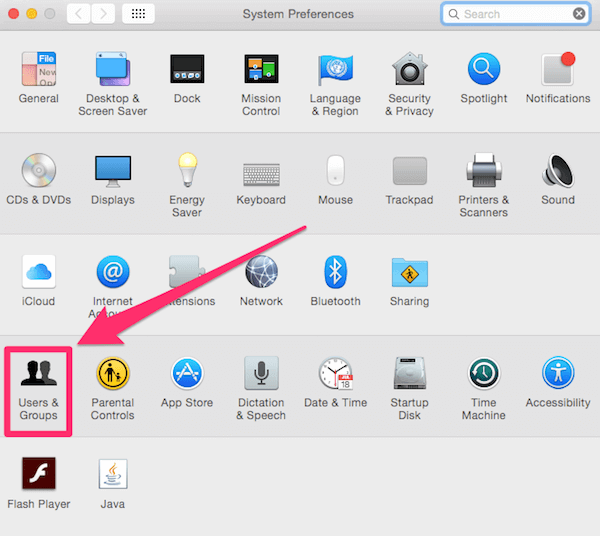
The first thing you need to do before even progressing with how to use PuTTY for Mac is to turn on Administrative Privileges on your Mac. To active the privileges, you can follow the steps shown below: This is how you get the administrator privileges on Mac with ease. Follow the further step to proceed with PuTTY usage Also Read: How to Completely Uninstall Apps on macOS
Step 2: Download and Install the XCode Support
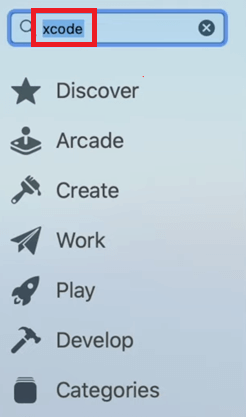
Nextly, to proceed with the procedure to download PuTTY for Mac, you need to install XCode first. You can take the help of the Apple App Store for this task. Follow the below steps to know how to use the Apple Store for XCode:
Step 3: Download and Install XCode Command Line Tools
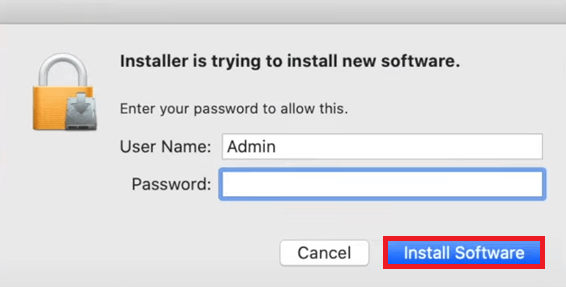
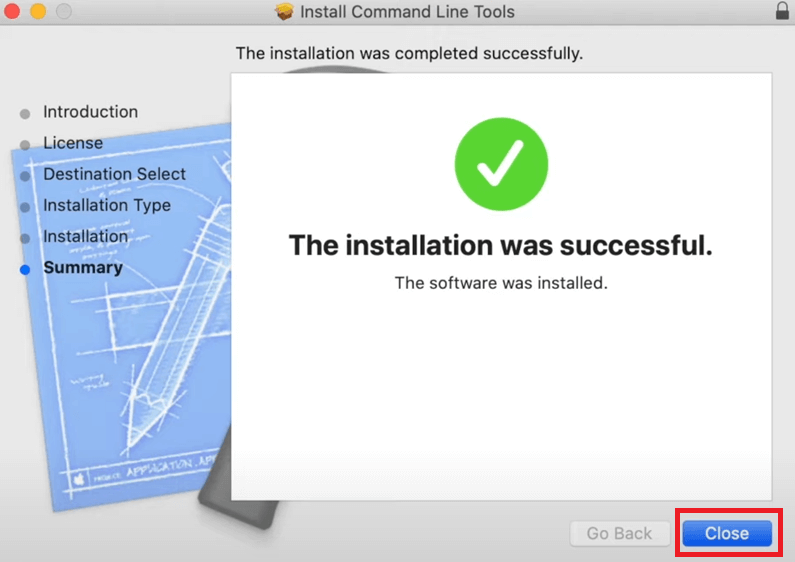
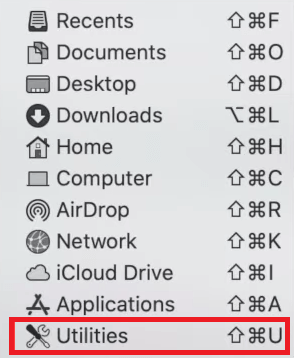
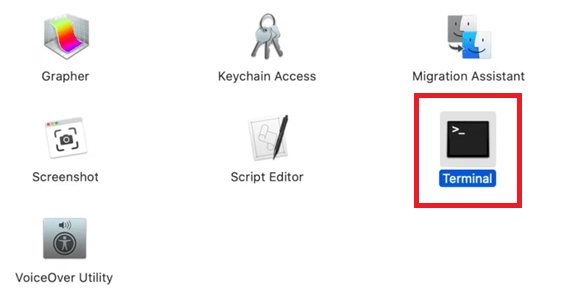
Now that XCode is downloaded and installed on your PC it’s time to install the Command Line Tools for XCode. Only after downloading these tools can you proceed with the process to install PuTTY for Mac. Follow the instructions shown below for the same: Till now, the first half of the job to download and use PuTTY for Mac is complete. Now, we will have a look at the rest below.
Step 4: Get MacPorts for your Mac
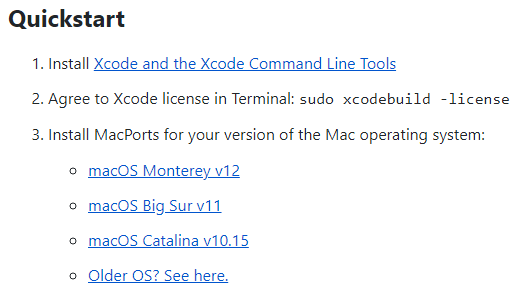
The further step to proceed with the download PuTTY for Mac and install procedure is to get the MacPorts app for your Mac. For this, you can take the help of the official website of MacPorts and download the tool. The below instructions will help you further: Also Read: Hidden Features Of MacBook You Should Know
Step 5: Get the XQuartz App and Install PuTTY for Mac
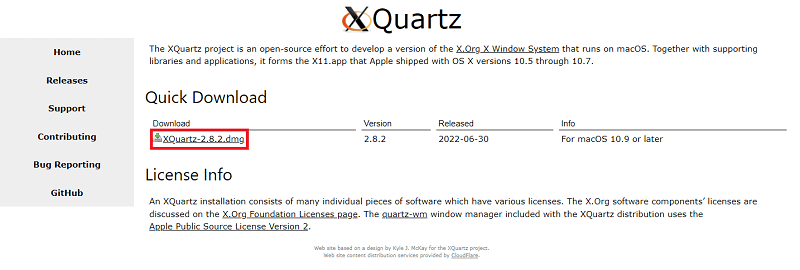
To proceed with the PuTTY usage procedure, download and install the XQuartz app on the Mac. Download the tool using the official website of the manufacturer. Follow the below steps to know more: if you wish to download PuTTY for Mac, keep on moving to the last step.
Step 6: Download and Install PuTTY for Mac
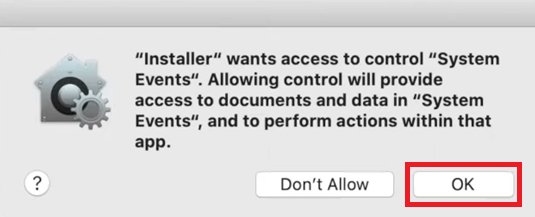
Lastly, now that you have taken care of other system requirements. You can now proceed to download PuTTY for Mac. For this, you need to follow the steps provided below for ease of installation: Now the system will automatically install PuTTY for Mac for you. If you are wondering now how to use PuTTY for Mac, then you can take the help of the next section.
How to Use PuTTY for Mac?
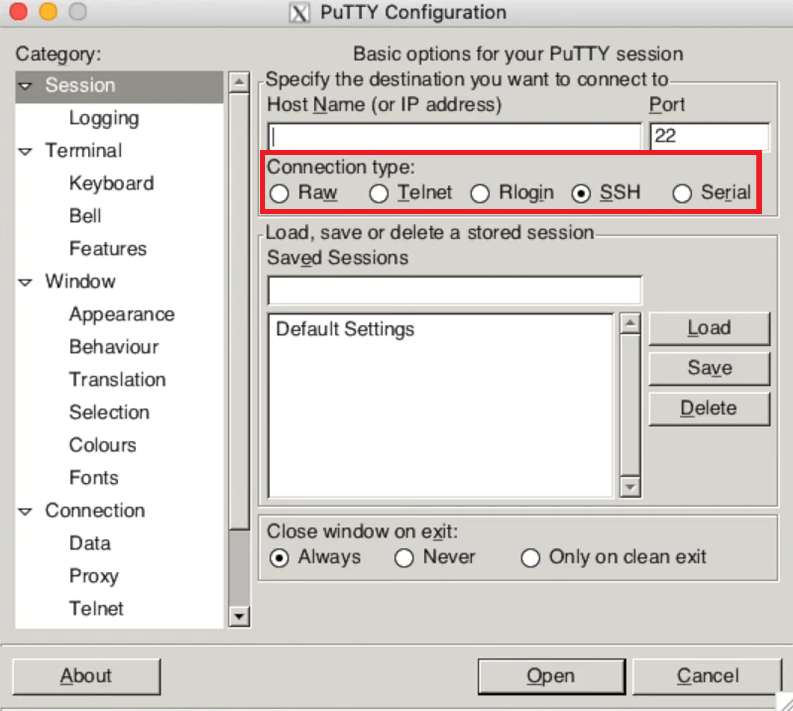
Now that you have completed the process to download and install the tool, it’s time to use it. To use PuTTY on Mac, you need to follow the steps provided below: Also Read: Must-Have Apps and Software for Mac of All Time
How to Download and Use PuTTY for Mac: Explained
So, above were some easy steps to help you download and install PuTTY for Mac with ease. We hope that these steps will help you with PuTTY usage and installation as required. If you face any type of problem while executing the steps, feel free to seek assistance from us using the comments section below. We will help you in every way possible. Additionally, you can also provide your suggestions for how to download PuTTY for Mac. If you liked this article, do subscribe to our newsletter for more interesting articles, guides, and other write-ups. We will share the same in your mail inbox for better feasibility.

