Change Router IP Address
In order to make it easy for users to login to the Router, Manufacturers use a basic IP Address (192.168.0.1 or similar) and provide this information on their websites. If you concerned about someone gaining access to your network, you can change a part of the Router IP address to make it harder for anyone to break into your network. When you change Router IP Address, anyone trying to gain access to your network will be required to guess Router IP address, in addition to Password and User Name.
Steps to Change Router IP Address
Follow the steps below to change Router IP Address.
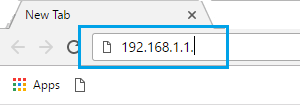
Open Chrome or any other web browser on your computer.
Enter the default IP address of your Router (192.168.0.1 or similar) in the search bar and press the enter key.
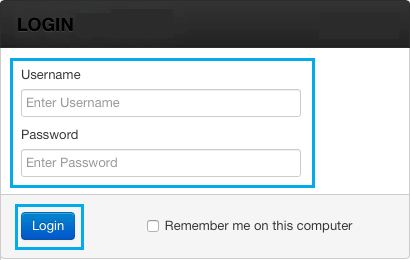
On the next screen, enter your Username and Password to log into Router Settings.
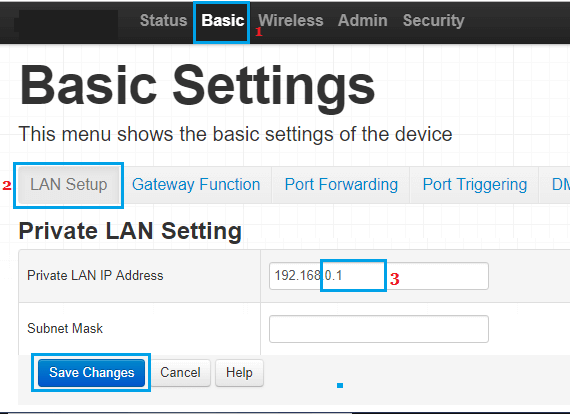
Open the next screen, click on Basic > LAN Setup > and change only the Last two numbers of the IP address in LAN IP Address field.
Note: In these last two fields, you can use any number between 1 and 254. Caution: Restrict IP Address change only to the third and fourth fields (ex: 192.168.11.xxx). Making changes to first and second fields can lead to network conflicts while connecting with your main network. 4. Click on Save Changes and note down your New Router IP Address. 5. Restart the Router. After changing Router IP Address, you may find your devices not connecting to the Internet. This can be easily fixed by restarting the devices and allowing them to re-establish connection with your router. Tip: You can confirm Router IP Address change by trying to Login to your Router using the New Router IP Address.
How to Find Your Public and Private IP Address How to Change Router DNS Server